WLAN unter Android einrichten über geteduroam
APP geteduroam installieren
1.
Im ersten Schritt muss die geteduroam-App aus dem PlayStore heruntergeladen werden:
https://play.google.com/store/apps/details?id=app.eduroam.geteduroam
Über die App werden alle Sicherheitseinstellungen und das Zertifikat automatisch eingerichtet.
eduroam per APP konfigurieren
3.


Beim ersten Öffnen im Suchfeld "Bielefeld" suchen und den Eintrag Universität Bielefeld auswählen.
4.


Hier werden nun die persönlichen Anmeldedaten eingegeben:
Benutzername:
-> BITS-Loginname@uni-bielefeld.de
Passwort:
-> BITS-Passwort (Netz-Passwort)
Anschließend auf Einloggen gehen.
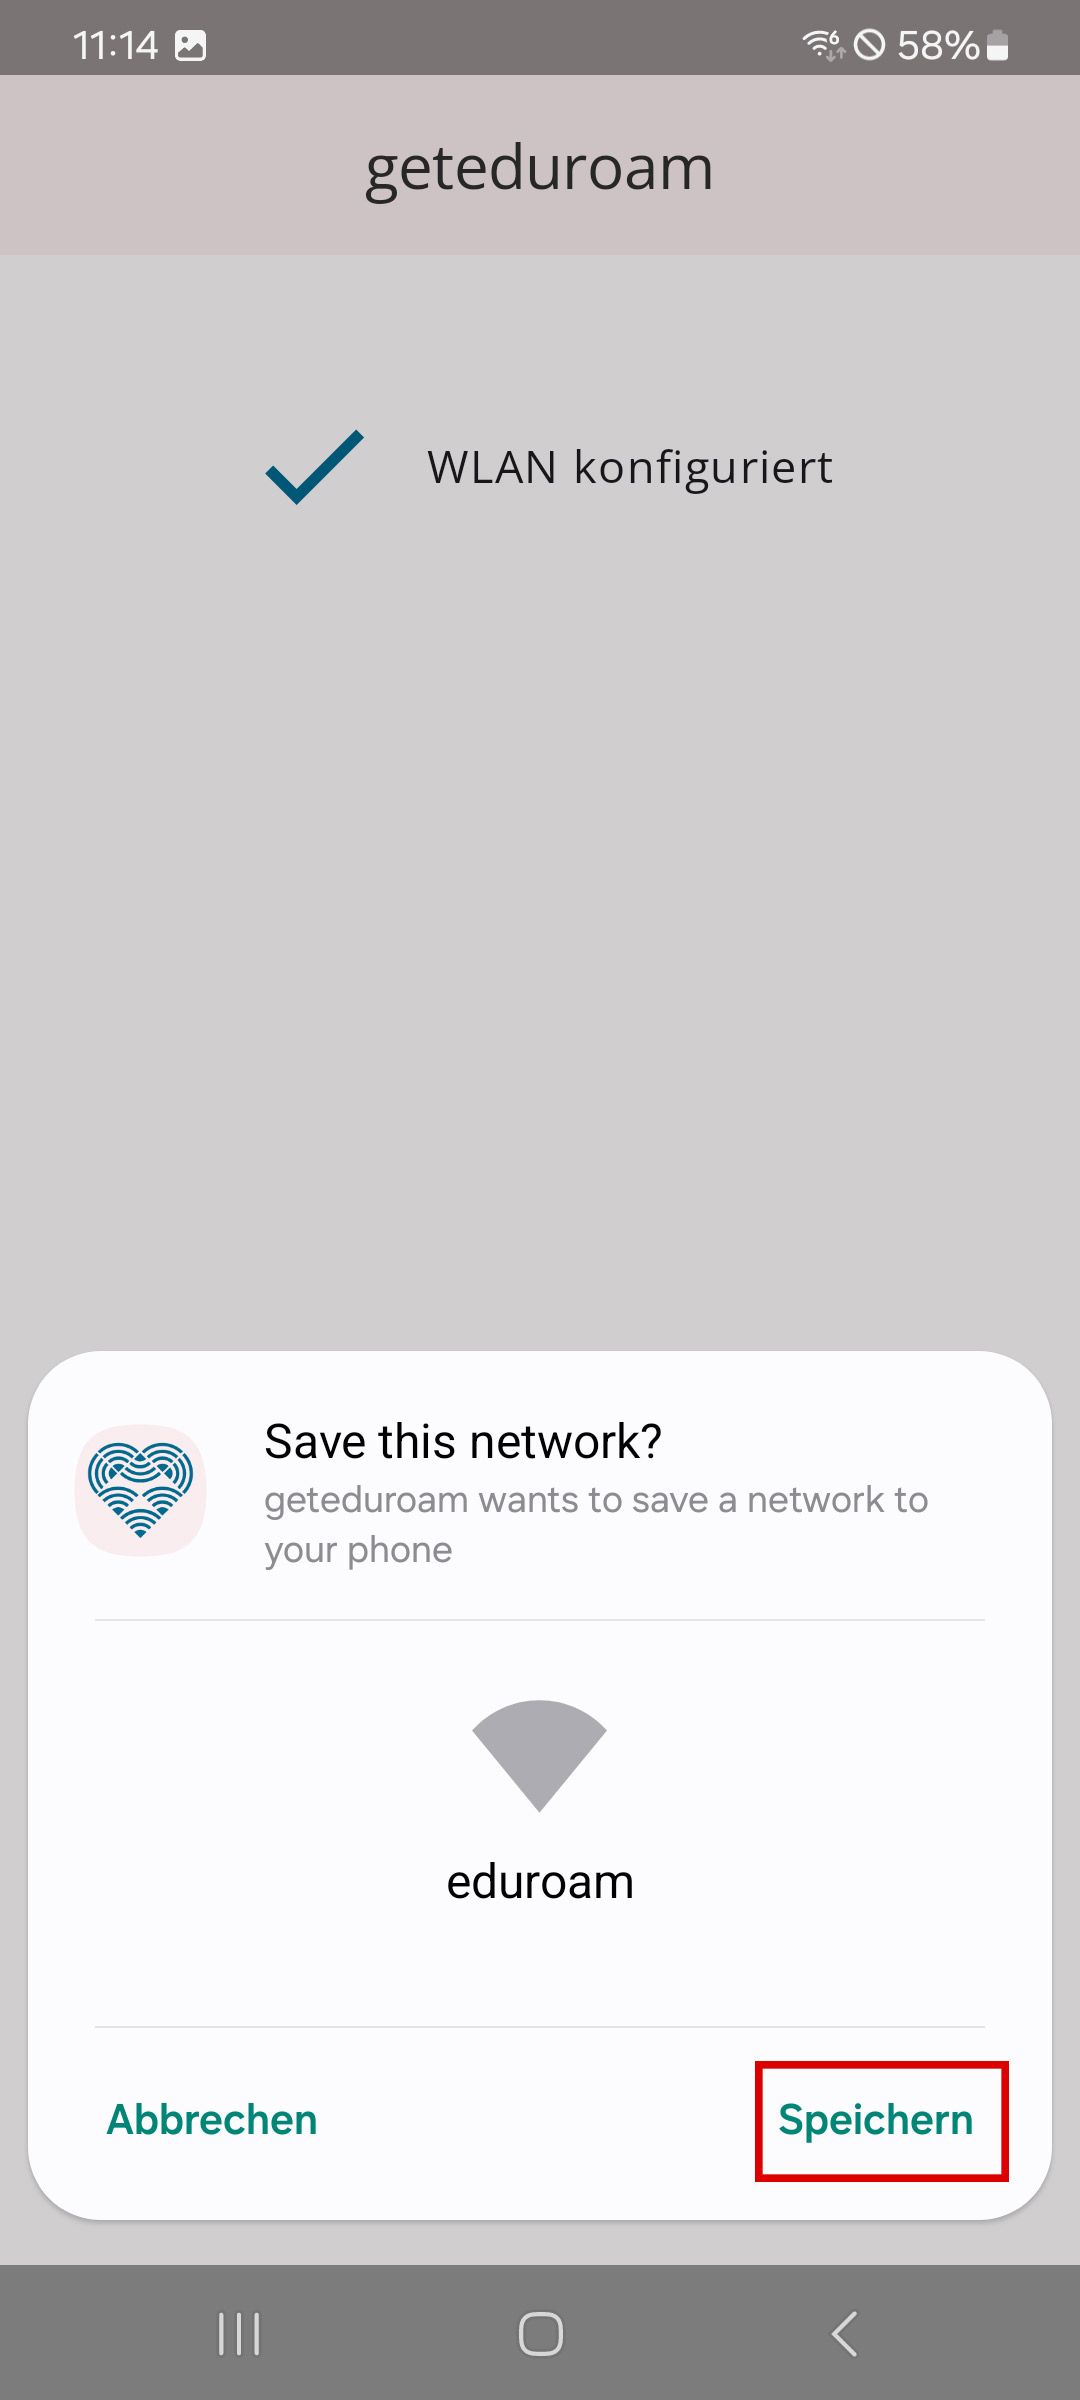

6.


Nun kann die App geschlossen werden und die WLAN-Verbindung wird hergestellt.
Die App wurde nur für die Einrichtung vom WLAN verwendet. In der Regel verbindet sich das Smartphone ab dann automatisch mit eduroam.